Photo by Melanie Deziel on Unsplash
Effortless Email Integration in Next.js Using Nodemailer and API Routes
Email communication remains a vital aspect of web applications.
Intro
As we know, sending emails remains an indispensable part of user interaction and communication. It is becoming more important to communicate effectively with the visitors of your website to make sure of their smooth and unique experience & Email is one of the best and tested ways of effective communication medium. So, it becomes crucial to integrate a trusted email service like nodemailer (a third-party library for sending emails in node.js) in this case, into your website or application.
However, when it comes to integrating Nodemailer into a Next.js project, challenges can arise. In this article, we'll explore how to seamlessly integrate Nodemailer without setting up a dedicated node.js server, leveraging the capabilities of Next.js. By the end, you'll have a clear roadmap to enhance your project's email capabilities while sidestepping the complexities of managing a separate server.
Understanding the Challenge
As developers, we often encounter the dilemma of wanting to harness the capabilities of Nodemailer within our Next.js applications without the overhead of maintaining a separate node.js server. By harnessing Next.js's capabilities and decoupling server-side logic, you can enhance your project's email communication without the complexity of managing a separate server.
The Solution
Step 1: Set Up Next.js and Nodemailer Dependencies
To get started, create a new Next.js project or open an existing one. If you don't have one, you can visit this link to create a new Next.js project [Getting Started: Installation | Next.js (nextjs.org)]. Then, Install the Nodemailer library using the npm package manager.
npm install nodemailer
Step 2: Create an API Route
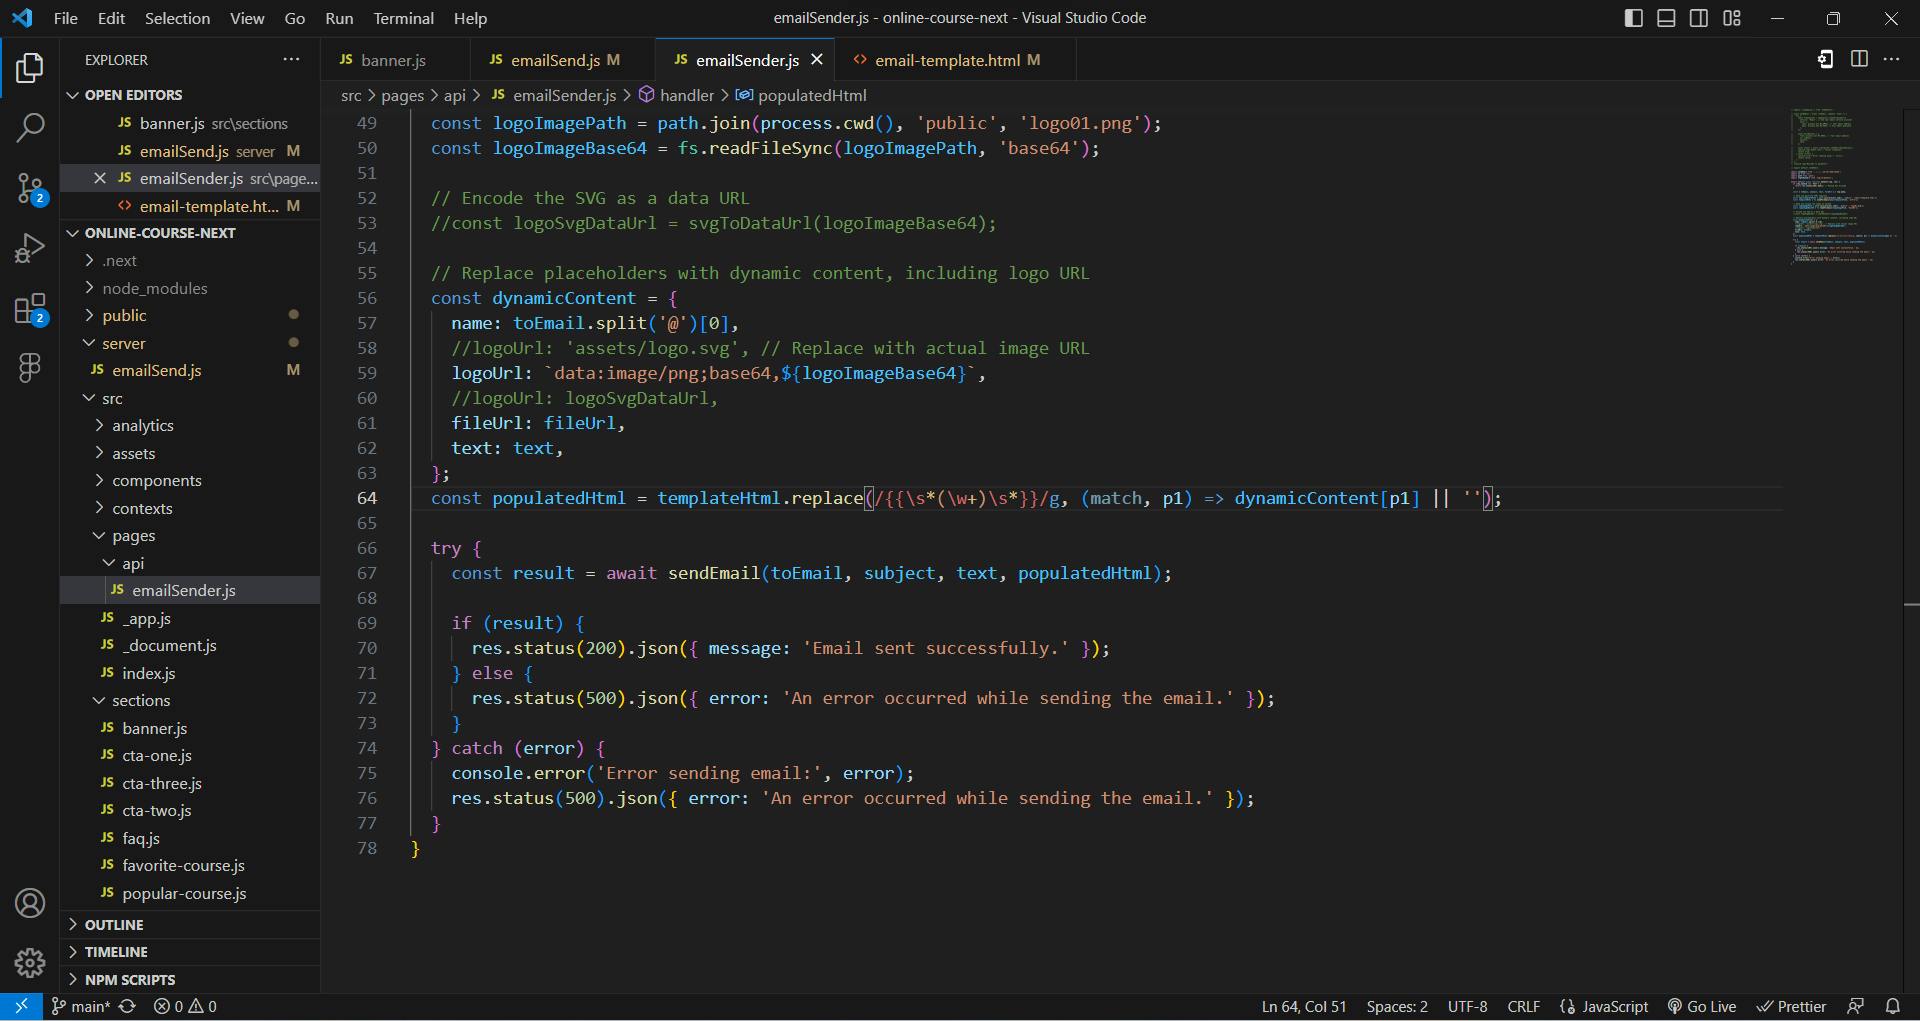
Utilize Next.js's API routes to create a dedicated endpoint for sending emails. This approach allows for server-side logic without the need for a separate Node.js server. Take a look at the below image for reference-

Here we created a file named "emailSender.js" inside the pages/api folder containing the server-side function which will invoke the function having nodemailer package integrated within it, imported from the separate file named "emailSend.js" from the server folder at the root of the project. Below is the code in the above image:
import sendEmail from '../../../server/emailSend';
import fs from 'fs';
import path from 'path';

export default async function handler(req, res) {
  if (req.method !== 'POST') {
    return res.status(405).end(); // Method Not Allowed
  }

  const { toEmail, subject, text, fileUrl } = req.body;

  // Read and generate HTML template
  const emailTemplatePath = path.join(process.cwd(), 'public', 'email-template.html');
  const templateHtml = fs.readFileSync(emailTemplatePath, 'utf-8');

  // Read and encode the image as base64
  const logoImagePath = path.join(process.cwd(), 'public', 'logo01.png');
  const logoImageBase64 = fs.readFileSync(logoImagePath, 'base64');
  const dynamicContent = {
    name: toEmail.split('@')[0],
    logoUrl: `data:image/png;base64,${logoImageBase64}`,
    fileUrl: fileUrl,
        text: text,
  };
  const populatedHtml = templateHtml.replace(/{{\s*(\w+)\s*}}/g, (match, p1) => dynamicContent[p1] || '');

  try {
    const result = await sendEmail(toEmail, subject, text, populatedHtml);
    if (result) {
      res.status(200).json({ message: 'Email sent successfully.' });
    } else {
      res.status(500).json({ error: 'An error occurred while sending the email.' });
    }
  } catch (error) {
    console.error('Error sending email:', error);
    res.status(500).json({ error: 'An error occurred while sending the email.' });
  }
}
Step 3: Decouple Server-Side Logic
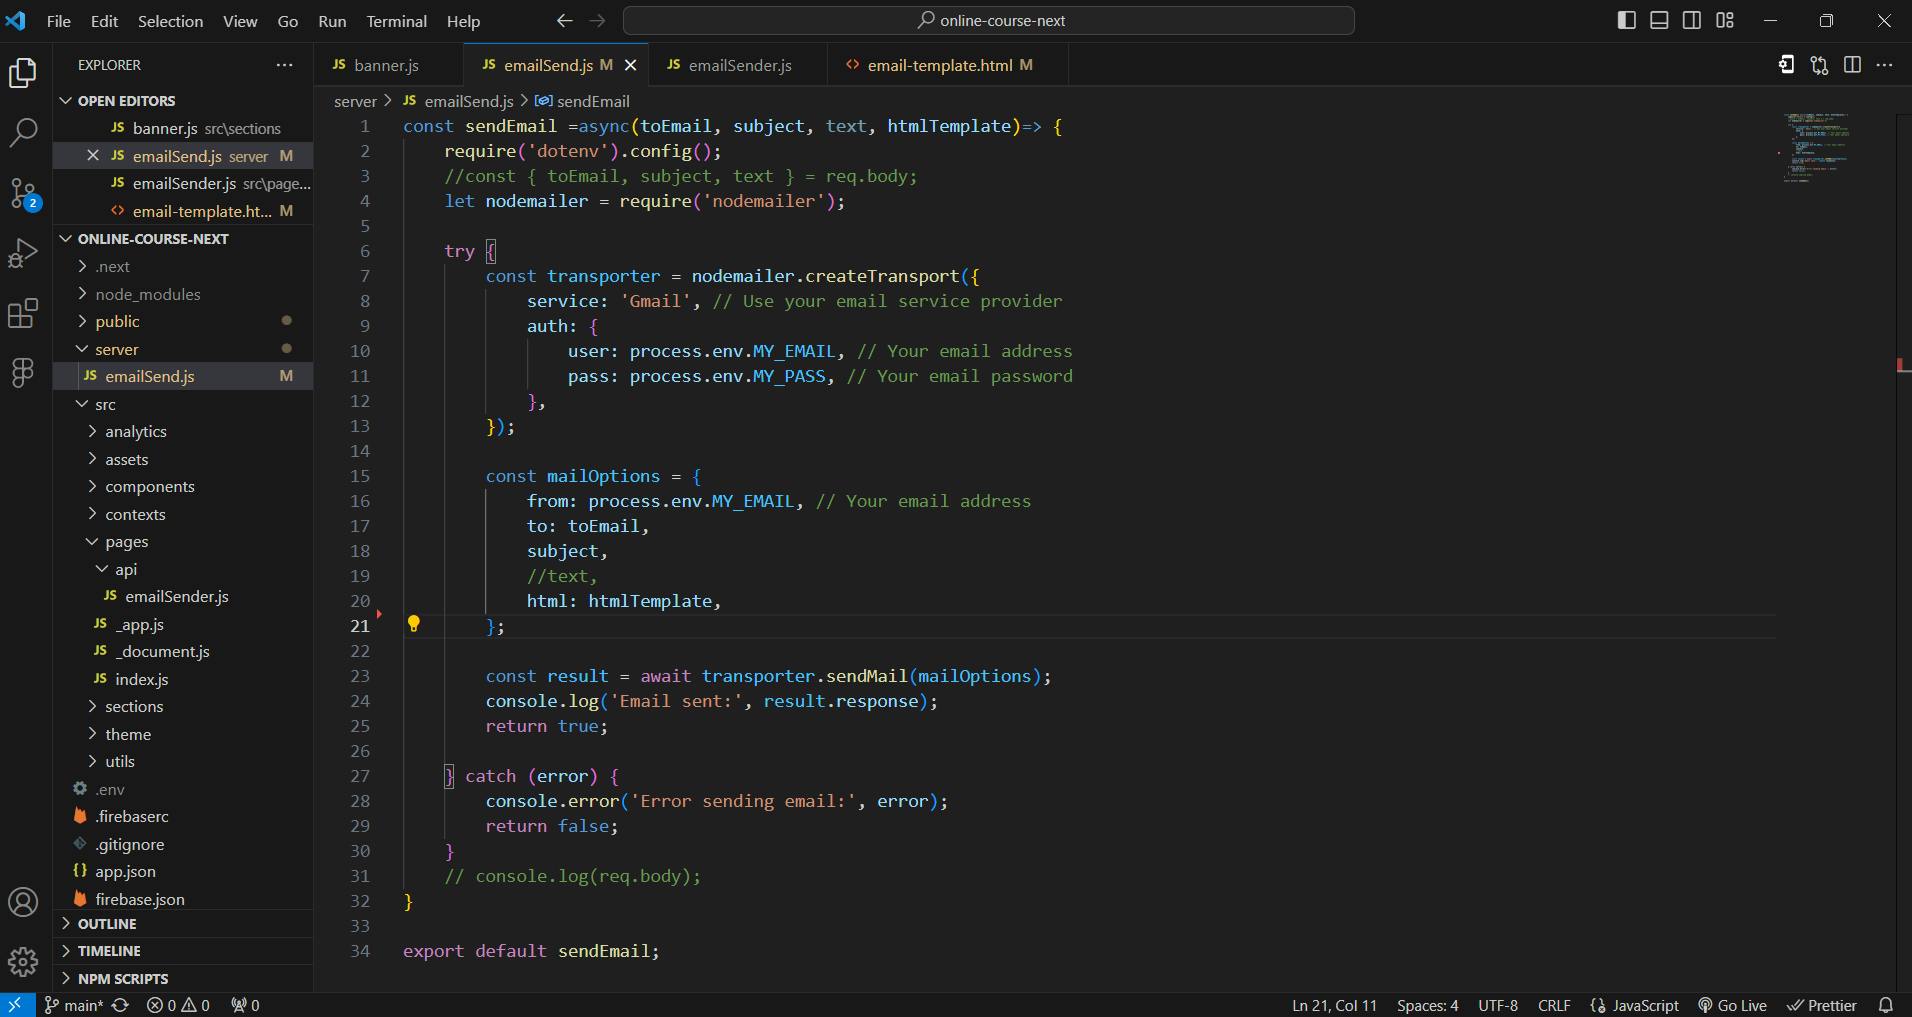
Separate the server-side logic for email sending from the pages/api directory. Create a new directory (e.g., utils or server) at the root of your project to house the server-side code responsible for email communication. Like in the above image, we are importing a sendEmail function imported from another folder outside the src directory, see the below image for nodemailer package integration-

Within this newly created server-side directory, implement the above Nodemailer logic to send emails. This logic remains separate from the front-end components, preventing any confusion between client-side and server-side contexts.
Step 4: Implement Nodemailer Logic
const sendEmail =async(toEmail, subject, text, htmlTemplate)=> {
    require('dotenv').config();
    let nodemailer = require('nodemailer');
    try {
        const transporter = nodemailer.createTransport({
            service: 'Gmail', // Use your email service provider
            auth: {
                user: process.env.MY_EMAIL, // Your email address
                pass: process.env.MY_PASS, // Your email password
            },
        });
        const mailOptions = {
            from: process.env.MY_EMAIL, // Your email address
            to: toEmail,
            subject,
            html: htmlTemplate,
        };
        const result = await transporter.sendMail(mailOptions);
        console.log('Email sent:', result.response);
        return true;
    } catch (error) {
        console.error('Error sending email:', error);
        return false;
    }
}

export default sendEmail;
Above is the code for integrating nodemailer package in separate folder from the src folder to de-couple the client-side and server-side contexts. Here, we used html property of nodemailer package in mailOptions object for sending a custom-built HTML template in email to the user, although, you can also send plain text in the email using text property.
Step 5: Utilizing the API Route
Invoke the API route from your front-end components to send emails. Utilize client-side code to initiate a POST request to the API route, providing the required data as JSON. You can use the built-in fetch module or the axios library for this purpose.
Below is the example code for post request using in-built fetch module-
// Your front-end component
const sendEmail = async () => {
  const emailData = {
    to: 'recipient@example.com',
    subject: 'Subject of the Email',
    text: 'Content of the email.',
  };

  try {
    const response = await fetch('/api/emailSender', {
      method: 'POST',
      headers: {
        'Content-Type': 'application/json',
      },
      body: JSON.stringify(emailData),
    });

    if (response.ok) {
      console.log('Email sent successfully.');
    } else {
      console.error('Error sending email.');
    }
  } catch (error) {
    console.error('Error sending email:', error);
  }
};
Likewise, you can also use axios library for performing this post request. Below is the example code-
// Your front-end component
import axios from 'axios';

const sendEmail = async () => {
  const emailData = {
    to: 'recipient@example.com',
    subject: 'Subject of the Email',
    text: 'Content of the email.',
  };

  try {
    const response = await axios.post('/api/emailSender', emailData);

    if (response.status === 200) {
      console.log('Email sent successfully.');
    } else {
      console.error('Error sending email.');
    }
  } catch (error) {
    console.error('Error sending email:', error);
  }
};
Troubleshooting Tips
Environment Variables: Store sensitive credentials using environment variables for enhanced security. Typically, these are stored in .env files created at the root directory of the project.
Thorough Testing: Always test the email functionality in controlled environments (locally on your machine) before deploying to production. It helps in minimizing the risk of failure while dealing with multiple users.
Error Handling: Implement robust error handling to gracefully manage any issues during email sending.
Conclusion
Seamlessly integrating Nodemailer into your Next.js application via API routes unlocks powerful email communication without the complexity of managing a separate server. By separating server-side logic, you navigate the complication of mixing client-side and server-side code. As a result, you enhance your project's communication abilities and maintain a structured, manageable codebase.
To Remember
With this comprehensive guide, you're poised to master email integration within your web projects. By harmonizing the prowess of Nodemailer and the capabilities of Next.js API routes, you're shaping a seamless communication ecosystem. As you proceed on your development journey, remember that the synergy of these technologies empowers you to tackle complex challenges and elevate your projects to new heights. Have a great day sending emails!

